Mac Mini server with attached storage devices
INTRODUCTION
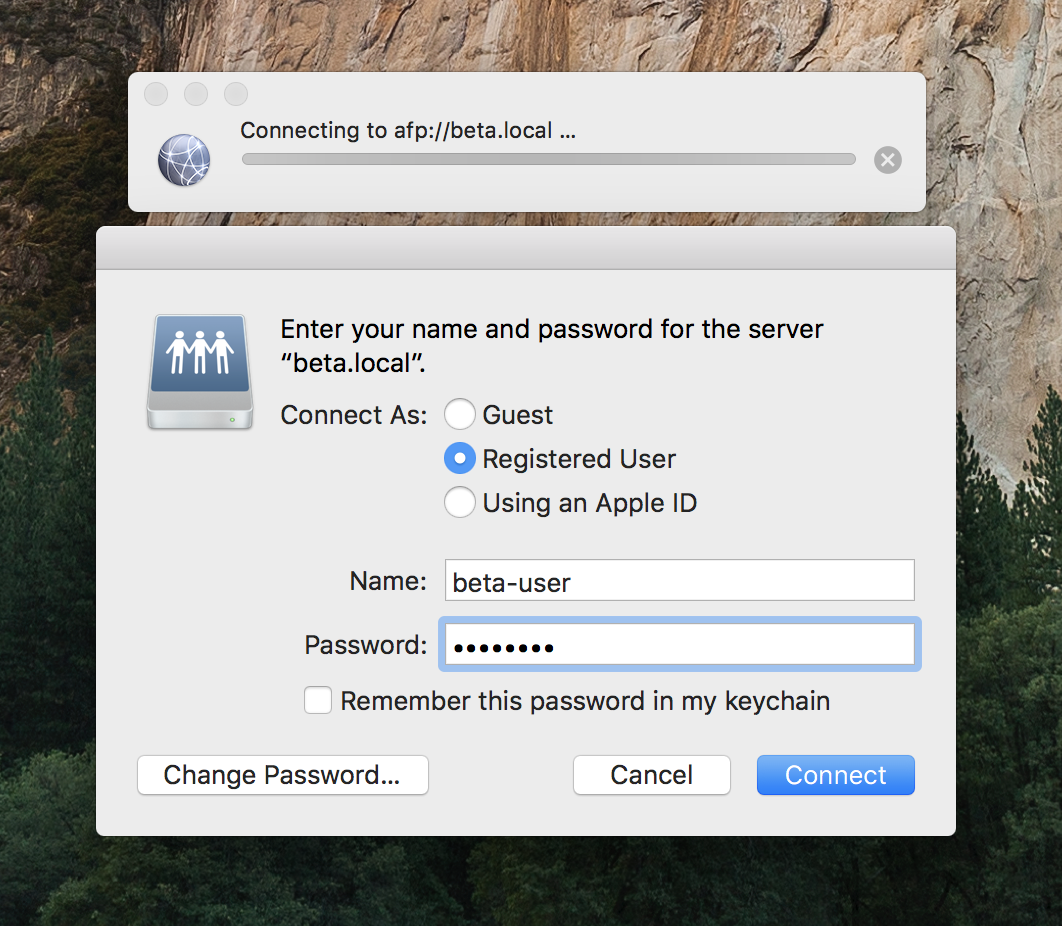
Once your NAS storage server is set up and File Sharing is turned on, you can share data from any connected storage device, such as external hard drives or enclosures. This is extremely useful for archives or small production environments with collections that take up a lot of space, such as video or other data with large file sizes. The option to attach drives and devices and share them over a network makes your NAS scalable, allowing your storage to increase without incurring huge costs.
There are many options for expanding storage, such as simply connecting external hard drives to your NAS, attaching a storage device like a DROBO, mounting hard drives with the help of a “drive dock” or “sled”, or hooking up a hard drive array enclosure that holds a set of internal hard drives. When making your choice, consider the following three factors:
Cables and connectors: What connection interface will you will use to connect your storage to your Mac Mini NAS server?
Storage Media: What type of hard drives will you use to store data?
To RAID or Not to RAID: How will data on your external storage device will be configured?
Also, consider using naming and arrangement standards to organize your data so that it can be easily controlled. You may want to catalog and describe your data, manage it manually or within a Digital Asset Management System, move collections or exchange data with others. Naming and arrangement standards are especially helpful for collections that are still growing and evolving, a topic that will be addressed in a future post. For the time being, just keep in mind that in order to be useful, data must be both discoverable and portable, and that consistent naming and arrangement standards must be implemented to achieve this.
DATA FLOW: UNDERSTANDING BOTTLENECKS
When setting up a NAS host server, consider the path that data must travel from its storage location on the NAS to your users' client computers. Data originates from storage volumes (external hard drives or hard drives mounted in an array enclosure) that are attached to your NAS host server, then flows to the NAS itself, then passes through a network (via a network switch) to user computers known as "clients".
I am calling this path the "chain of delivery", and when there are outdated or weak points in that chain (comprised of both hardware and software), your data will encounter a slowdown, or "bottleneck".

NAS Data Storage Server Chain of Delivery

In an ideal computing environment, data from your NAS server host will be delivered to the client's computer quickly and without any degradation in performance. Users will load and use data as quickly as if they were using the NAS server itself. If your computing environment is non-optimal (and most are), users may experience slowdowns in performance when accessing data on your NAS, such as laggy video playback, skipped frames, or long data transfer times. To avoid these hangups, you'll want to learn as much as possible about your computing and networking environment. You will want to know what hardware or equipment is used at every connection point, such as switches, routers, and cables.
In general, your performance speeds are only as fast as the slowest equipment in the chain of delivery. The link in the chain that causes a slowdown is known as a "bottleneck". To learn more about performance, start by monitoring data transfer speeds on your NAS server and testing video playback. To monitor data speeds, check out the article on data speeds here: ARTICLE
Before monitoring speeds, however, you'll want to know a little more about the storage media used in your NAS, and how different hardware configurations can help efficiently deliver data to your users over a network.
STORAGE MEDIA: TYPES OF HARD DRIVES
Spinning disk vs. SSD
In the history of computing, from punch cards to magnetic tape to hard drives, many different types of media have been used to store data. Currently, the most popular data storage media are spinning disk drives, and various offshoots of flash memory, or Solid State Drives (SSD), including SD cards, flash drives, eMMC flash storage, and other solid state media formats. Whichever disks you choose will be contained in an external hard drive or array enclosure device like a JBOD chassis or DROBO device.
For more information about data storage media, especially as it relates to digital preservation, check out Storage Media: Spinning Disk, Solid State Drives and LTO Tape.
When purchasing storage media for your NAS, you will make three big choices:
What type of storage media will you use in the NAS server itself (to run the operating system)? This is the interal drive that powers your NAS.
What type of storage will you use to store the data your NAS is hosting for clients? This is the interal or (more likely) external media that will contain terabytes and terabytes of data that users want to access.
What type of backups will you use for your hosted data? To ensure data longevity and accessibility, cosnider options for making redundant backups for you data

Solid State Drive (SSD)
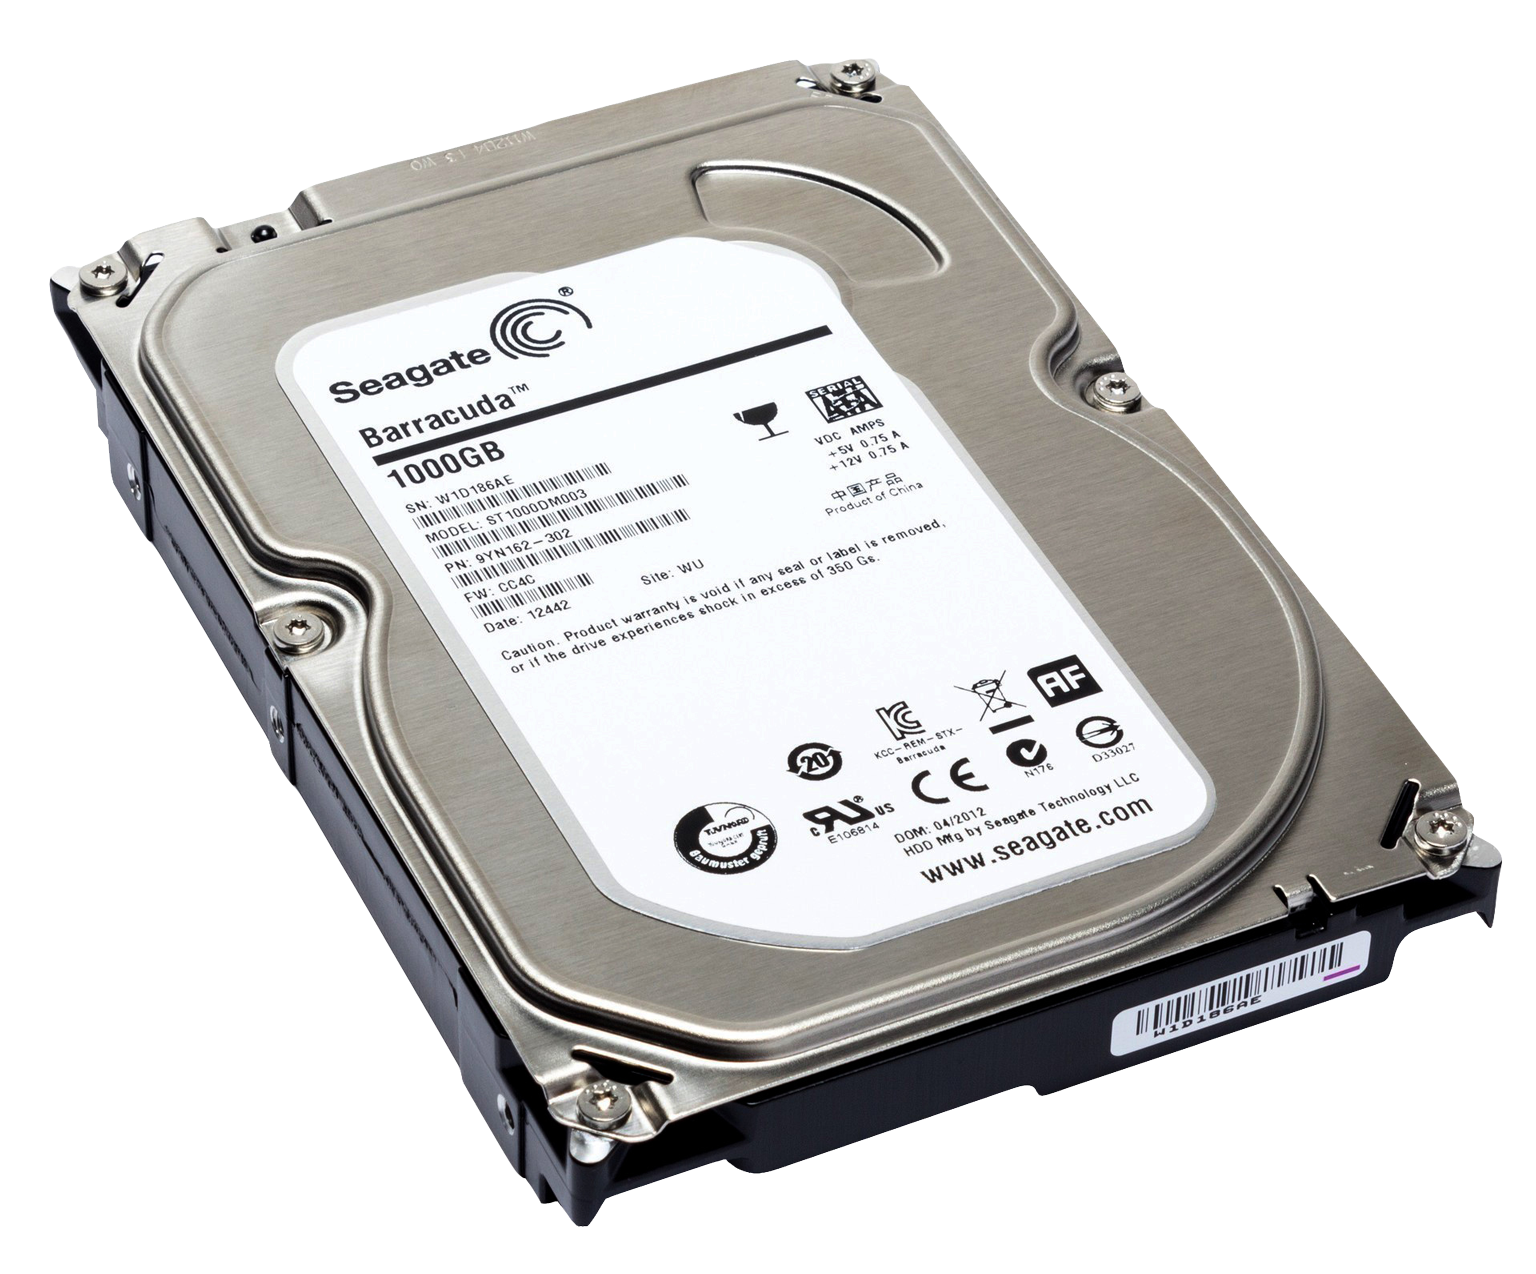
Spinning Disk Hard Drive
1. Storage Media for the NAS
When you set up your NAS, the host server itself, ideally, will use an internal SSD drive. SSD drives are much faster than traditional, mechanical spinning disk hard drives. As of this writing, SSD media is recommended for use over traditional spinning disk drives. Read/write speeds of spinning disk hard drives are somehwere in the neighborhood of 90 - 100MB/s, whereas solid state drives (SSDs) transfer data at anywhere from 90 - 500MB/s.
Your NAS server not only runs the macOS operating system, it also negotiates all traffic and data requests from users. All hosted data must pass through this NAS before it can be sent over the network to clients, so it is very important that your server has the best hardware you can afford, including an SSD hard drive. If you are workign on a budget, you may need to make difficult choices about which hardware components to upgrade. Rest assured; if there is one upgrade that will make an immediately noticeable impact data delivery speeds and NAS performance, it is an upgrade to an internal SSD drive in your NAS. Your users will thank you.
Not all SSD drives are created equal, so if your NAS didn't come with an SSD drive installed, shop around and read reviews to decide which drive is best for you.
2. Storage Media for Hosted Data
The storage media you choose for your hosted data depends on your budget, the type of data you will be hosting and how many users need to access it simultaneously. Costs are high and can spiral out of control quickly. Average quality internal SSD drives cost about $0.XX per gigabyte, whereas interal spinning disk drives cost around $0.XX per gigbyte for 2TB disks. Additionally, depending on your storage plan, you may need to purchase duplicate sets of all of your storage media so that you can create backups for data redundancy.
If you are hosting video or some form of complex media that requires speedy performance in an environment with multiple simultaneous users, you may consider investing in SSD drives to host your data. If not, traditional solid state drives will do the trick. Most users can get away with less expensive 5400rpm drives, but if you have any concerns, the price jump to 7200rpm drives is small, and performance is better. I've set up and worked with NAS servers in several video production environments (100mbps bitrate video) with up to three or four simultaneous users and have never needed to use SSD media.
3. Storage Media for Data Backups and Redundancy
If your users need constant access to files on your NAS, you will need to invest in a "secondary" hard drive enclosure or device to attach your data to the NAS, as well as a second set of hard drives to store the data. This way, if your primary enclosure or the disks it contains go out of commission, you have a backup enclosure with a duplicate set of drives to keep the NAS up and running smoothly. To save money, this secondary device and its drives may be inferior to your primary device.
Data backup software, such as rsync or Apple's Time Machine may be used to back up primary data nightly, or once a week. Performing consistent, reliable data backups is an art in itself and may warrant a future post.
Question: What about cloud storage or LTO tapes for data backup?
If your users can live without the NAS server for several hours or days, you may consider using cloud storage such as Google Coldline Storage or Amazon Glacier, or LTO data tape to back up your data. Pricing for these options varies depending on the frequency of your backups, staff expertise, and volume of data. In general, cloud storage is quite expensive relative to SSD or spinning disk hard drives, and LTO tape is relatively inexpensive at volume (over about 50TB as of this writing).
One Last Question: What about Geographical Separation?
Data stored on LTO tape and/or sets of hard drives can be sent offsite to geographically separate data, an important practice for digital preservation. Geographical separation ensures that copies of your data exist in different locations, ensuring data longevity in case of physical threats, such as natural disasters, security issues, or other mayhem. Cloud storage is also a viable option, as it geographically separates data inherently, and users can choose server locations when configuring cloud services.

INTERFACES: CABLES AND CONNECTORS
Once you have decided on a storage media for your NAS, you'll want to decide how to connect it to your server. The connection you use to attach an storage device to your NAS server impacts the performance, stability, and overall cost of your NAS. As of this writing, there are two options for connecting directly to the current version of the Mac Mini: Thunderbolt 2 and USB 3.0. Older, outdated or “legacy” Mac Mini connectors include Thunderbolt 1, USB 2.0, and Firewire 400 and Firewire 800.
Thunderbolt 2
The fastest, most reliable connection is currently Thunderbolt 2. Because you can connect Thunderbolt-compatible devices directly to your Mac Mini, this is a reliable, stable connection. Data transfer speeds are extremely fast by today’s standards, running up to 20 Gbps. Additionally, you may “daisy chain” or connect up to six Thunderbolt devices to each other, or twelve devices total since the Mini has two Thunderbolt ports. In testing, performance speeds of multiple daisy-chained devices are not seriously compromised, as the available 20 Gbps bandwidth are enough to handle the load demanded by each storage device, assuming each device has read/write speeds of 100 – 500 MBps.
Soon all Apple computers will use Thunderbolt 3, which uses a USB Type-C connector and speeds up to 40 Gbps.
USB 3.0
The Mac Mini comes with four USB 3.0 ports, which transfer data at speeds up to 5 Gbps. Like Thunderbolt, this connection is reliable because it is direct and requires no adapters or other equipment. USB 3.0 does support daisy-chaining and use of USB hubs, but attached devices share the entire 5 Gbps bandwidth, so performance is an issue when attaching multiple USB devices (with read/write speeds of 100 - 500MBps) to the same Mac Mini USB port.
ATTACHING DATA TO YOUR NAS: EXTERNAL DRIVES, HARD DRIVE DOCKS AND ARRAY ENCLOSURES

External Hard Drives
External drives made by manufacturers such as Lacie, Toshiba, and Western digital present simple, contained solution with lots of storage. These devices are familiar and easy to use, and can store up to 8TB at only 2¢ per gigabyte. Using an 8TB hard dive with the four available USB ports on the Mac Mini, you can host about 16 – 20 TB of primary storage, and the same amount for secondary backup storage. If you use Thunderbolt and connect up to six 8TB hard drives using daisy chaining, you can store at least 48TB of primary data and an equal amount of secondary backup data. Maybe you'd like to get creative and connect up to 96TB via Thunderbolt and use USB for your secondary storage... there are so many fun options.

Hard Drive Docks
Hard drive docks are simple interfaces that you can use to "plug" an internal hard drive into a computer quickly and eject it quickly. Like external hard drives, docks provide a simple interface to mount storage drives to computers, but using a dock, internal drives can be attached and removed without the impediment of an external enclosure. They are extremely handy to have around in digital preservation environments, where preservationists are often troubleshooting failing or legacy storage devices, transferring data, cloning drives, and performing data forensics work.
Drive docks usually have space for up to three drives and be used, for example, for a NAS in which data is made available for a temporary period of time upon request.

Array Enclosures
If you need to attach lots of storage to you NAS, check out array enclosures. They can accommodate internal SSD or spinning disk drives, connect to storage with a variety of interfaces (Thunderbolt, USB 3.0, eSATA, etc.), and house anywhere from two drives to dozens of drives, usually in sets of 4, 8, 16, 32, or 48.
The advantage of using array enclosures over external hard drives is that arrays can host more data and present options for RAID configurations that consolidate data and increase performance. Array enclosures made by proprietary vendors such as Drobo may offer technical support and great warranties, but may also use proprietary RAID hardware and software that forces a degree of customer dependency that can be limiting.
DATA CONFIGURATION - TO RAID OR TO RAID, THAT IS THE QUESTION:
With a little software implementation, a set of hard drives in an array enclosure can be transformed from a JBOD array (Just a Bunch of Disks) to a RAID (Redundant Array of Independent Disks) array. By configuring a set of disks to work together, RAID can increase data redundancy, performance, or both. The degree of redundancy and increase in performance all depends on which RAID configuration you choose: RAID0, RAID1, RAID5, and RAID6 are popular configs. Alternatively, you may decide that a RAID setup complicates your storage architecture unnecessarily, or requires too much technical support, in which case simply mounting sets of independent disks in an array enclosure JBOD-style is totally acceptable.
For more detailed information about different RAID configurations and their benefits (and some sweet diagrams), take a look at Prepressure's post here, or a PDF of the post.